
Welcome back to my Artist Series! Yet another big chunk of time has gone by without a new artist, but I’m back with something a bit different from the previous artist sessions that I’ve completed so far, for a few reasons. First, Nainoa came over to our place to work on his piece, instead of me photographing him in his own studio setup. As a result, I won’t have the normal studio detail shots. Second, this shoot involved more than just visual art-making, but more on that later. Lastly, because of the length of this shoot, I am breaking the post up into two parts. Part two will be a quick follow next Sunday!

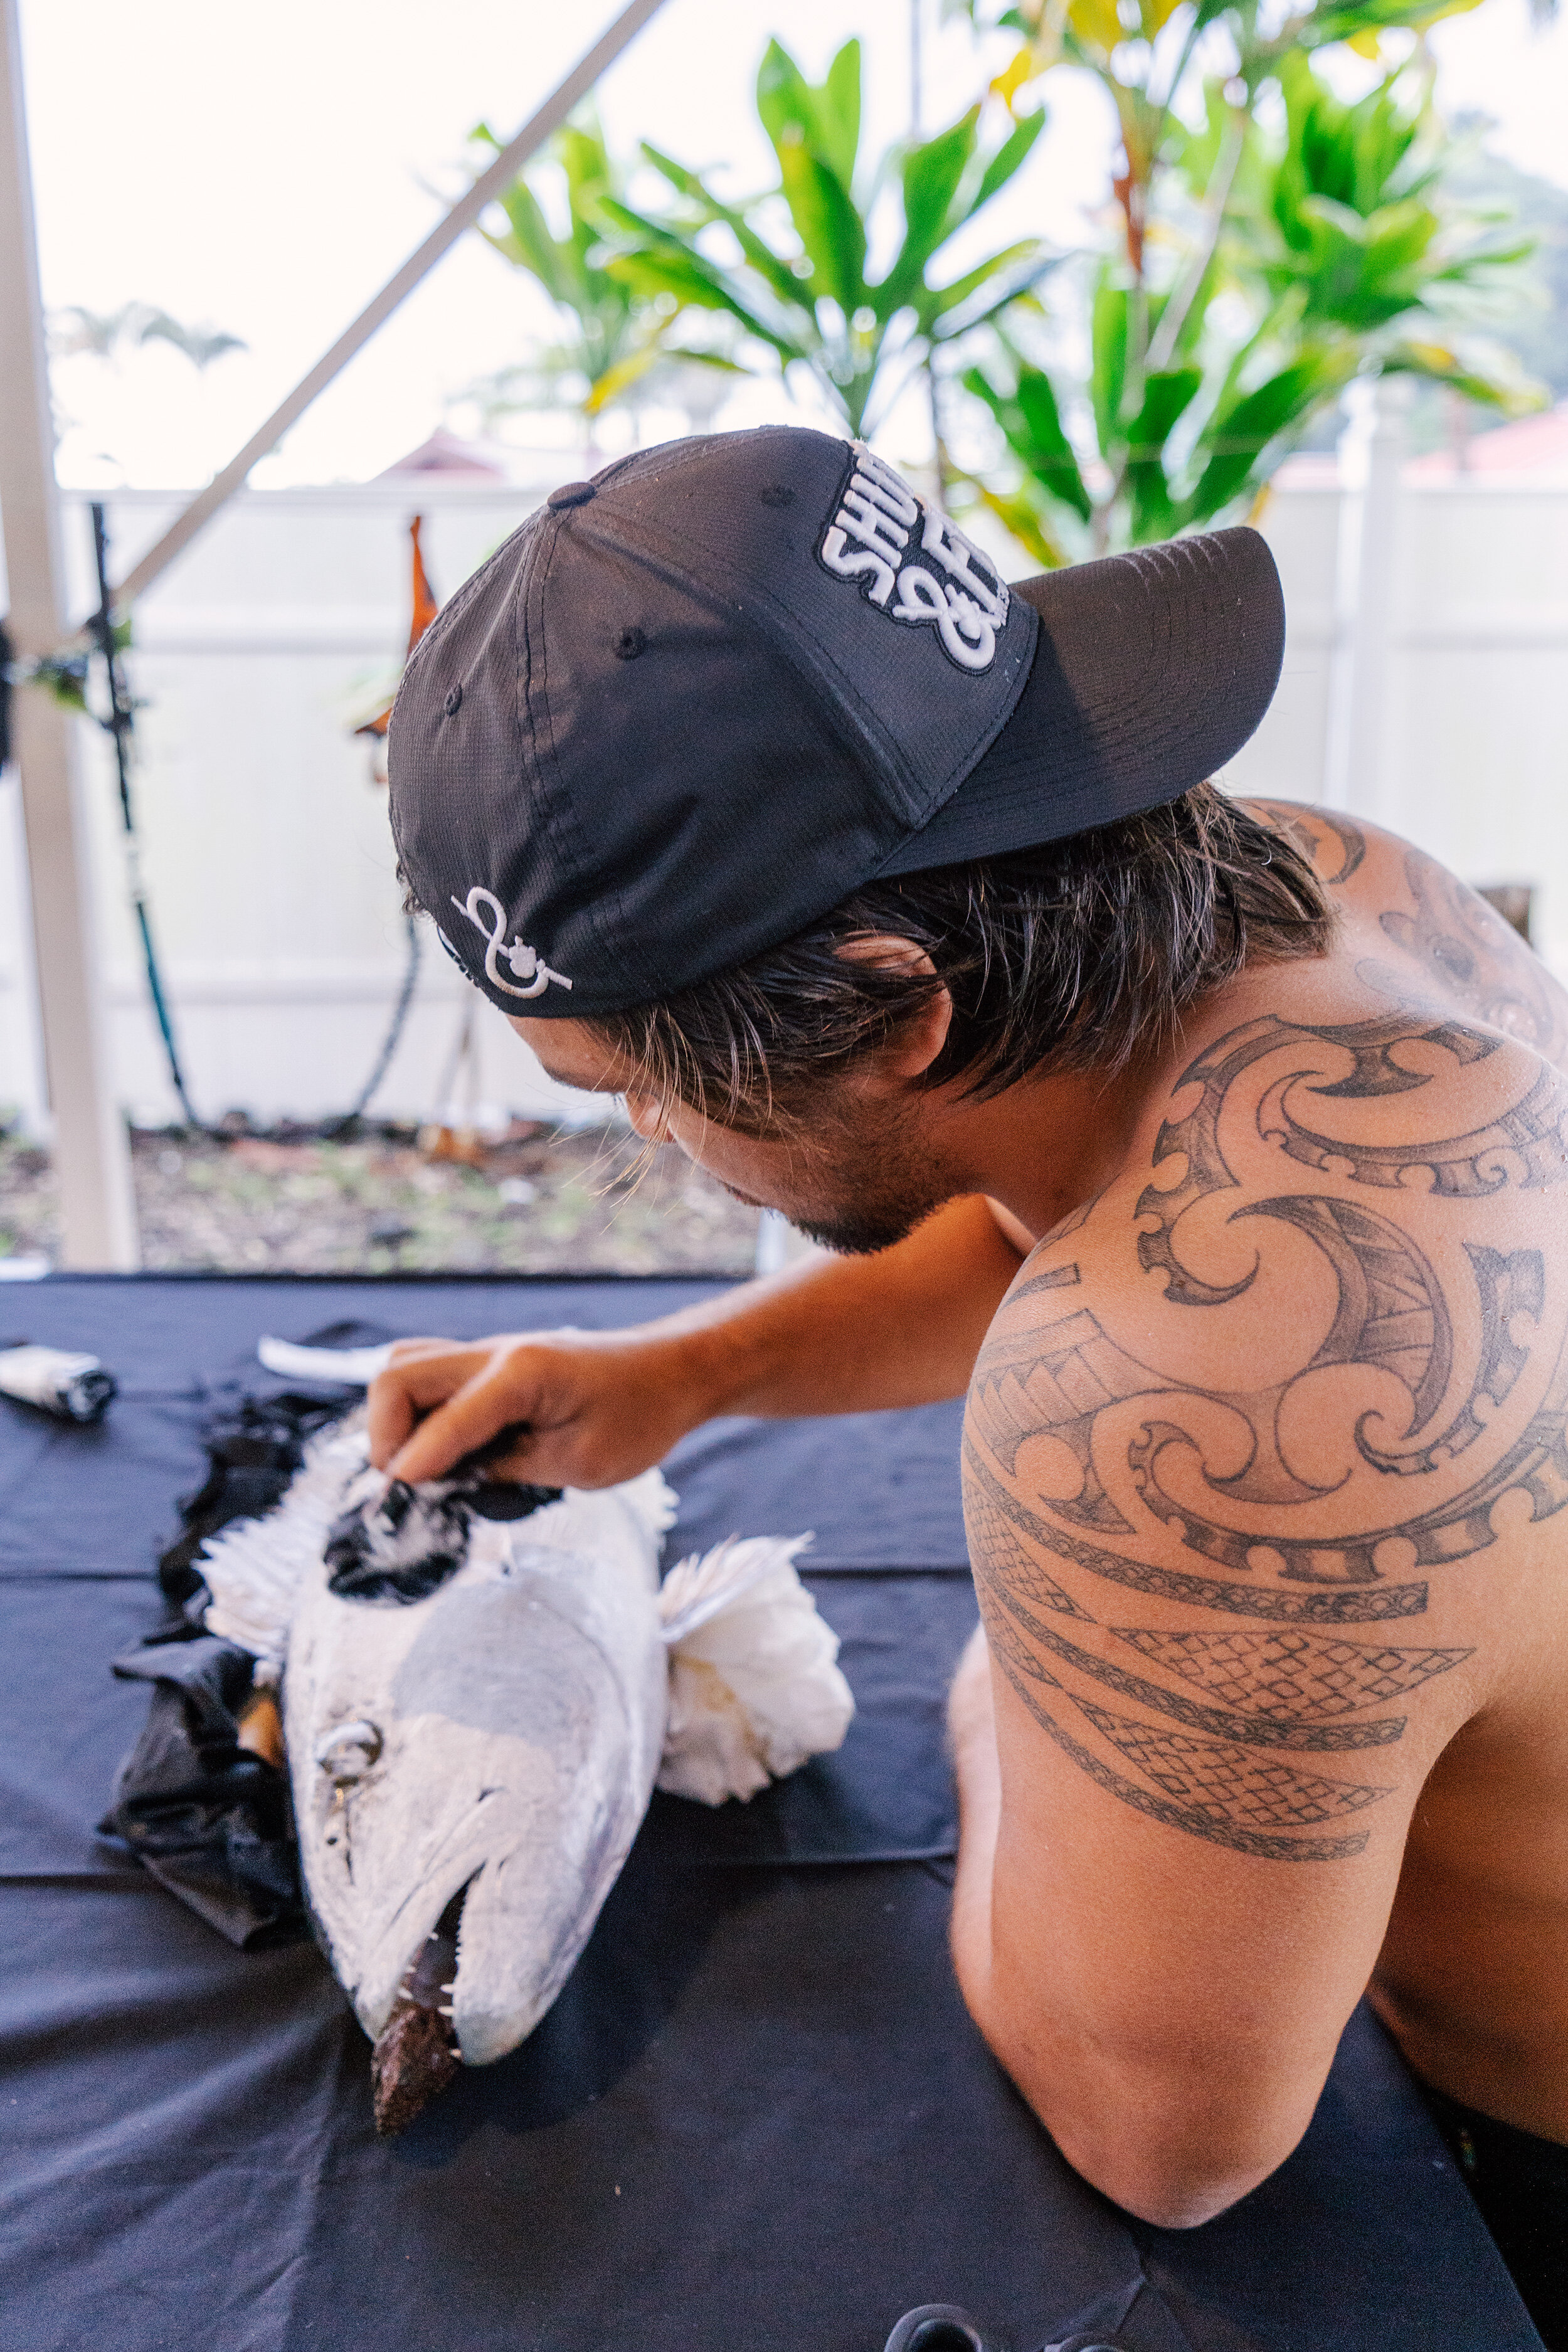
I know Nainoa primarily because he is my husband’s spearfishing partner. Over the past year or so I have been lucky enough to get to know him through diving days and when we get together to cook up their catches. He recently picked up Gyotaku and I knew I had to document him creating this amazing work. Gyotaku is essentially a printmaking technique; it is the traditional Japanese art form of printing fish. It was originally used as a simple method of documenting a fisherman’s catch but has turned into an art form all its own.
After some convincing, Nai agreed to let me photograph him, but we waited for the right catch to make it happen. When he managed to spear a huge Uku, having to fight an eel off for it, he messaged me and we set the plan into action!
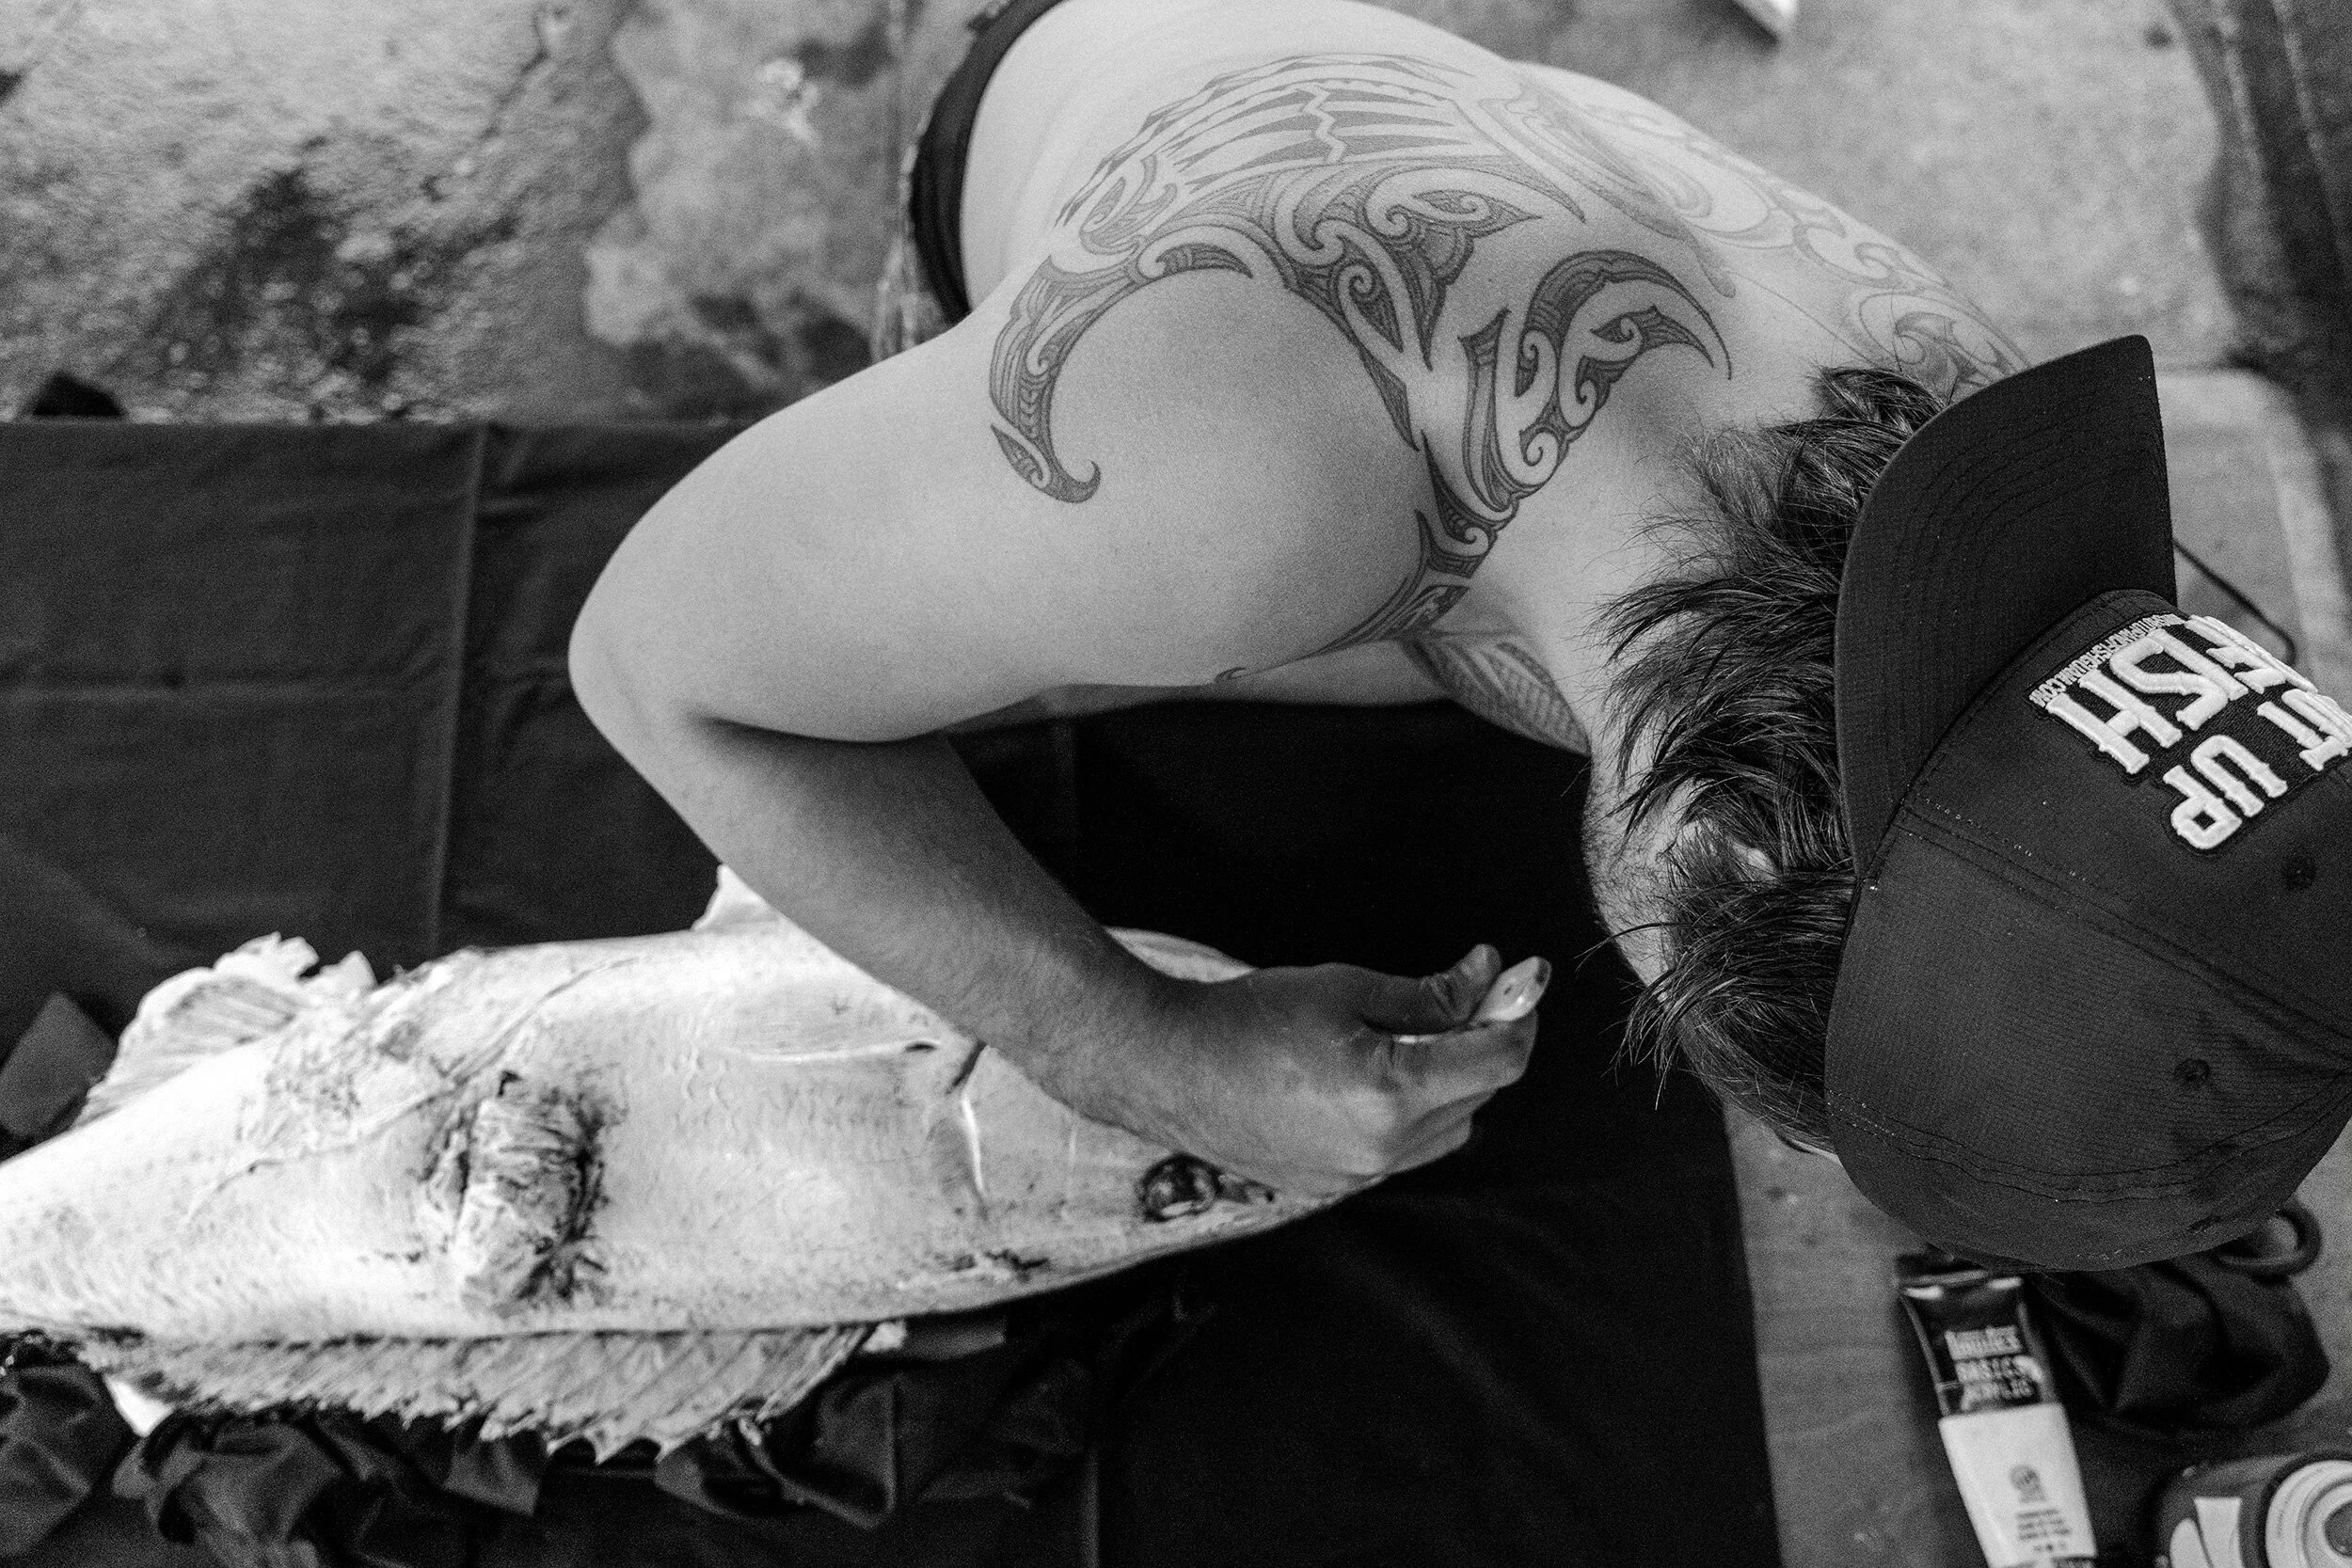
The shoot took place on what ended up being a very rainy afternoon and evening. So, conditions weren’t totally ideal for photos, but we made do with what we had. To start the process, he wiped down the fish to get that typical fish slime off and also began spreading out and positioning the fins so that they would print how he wanted them to.

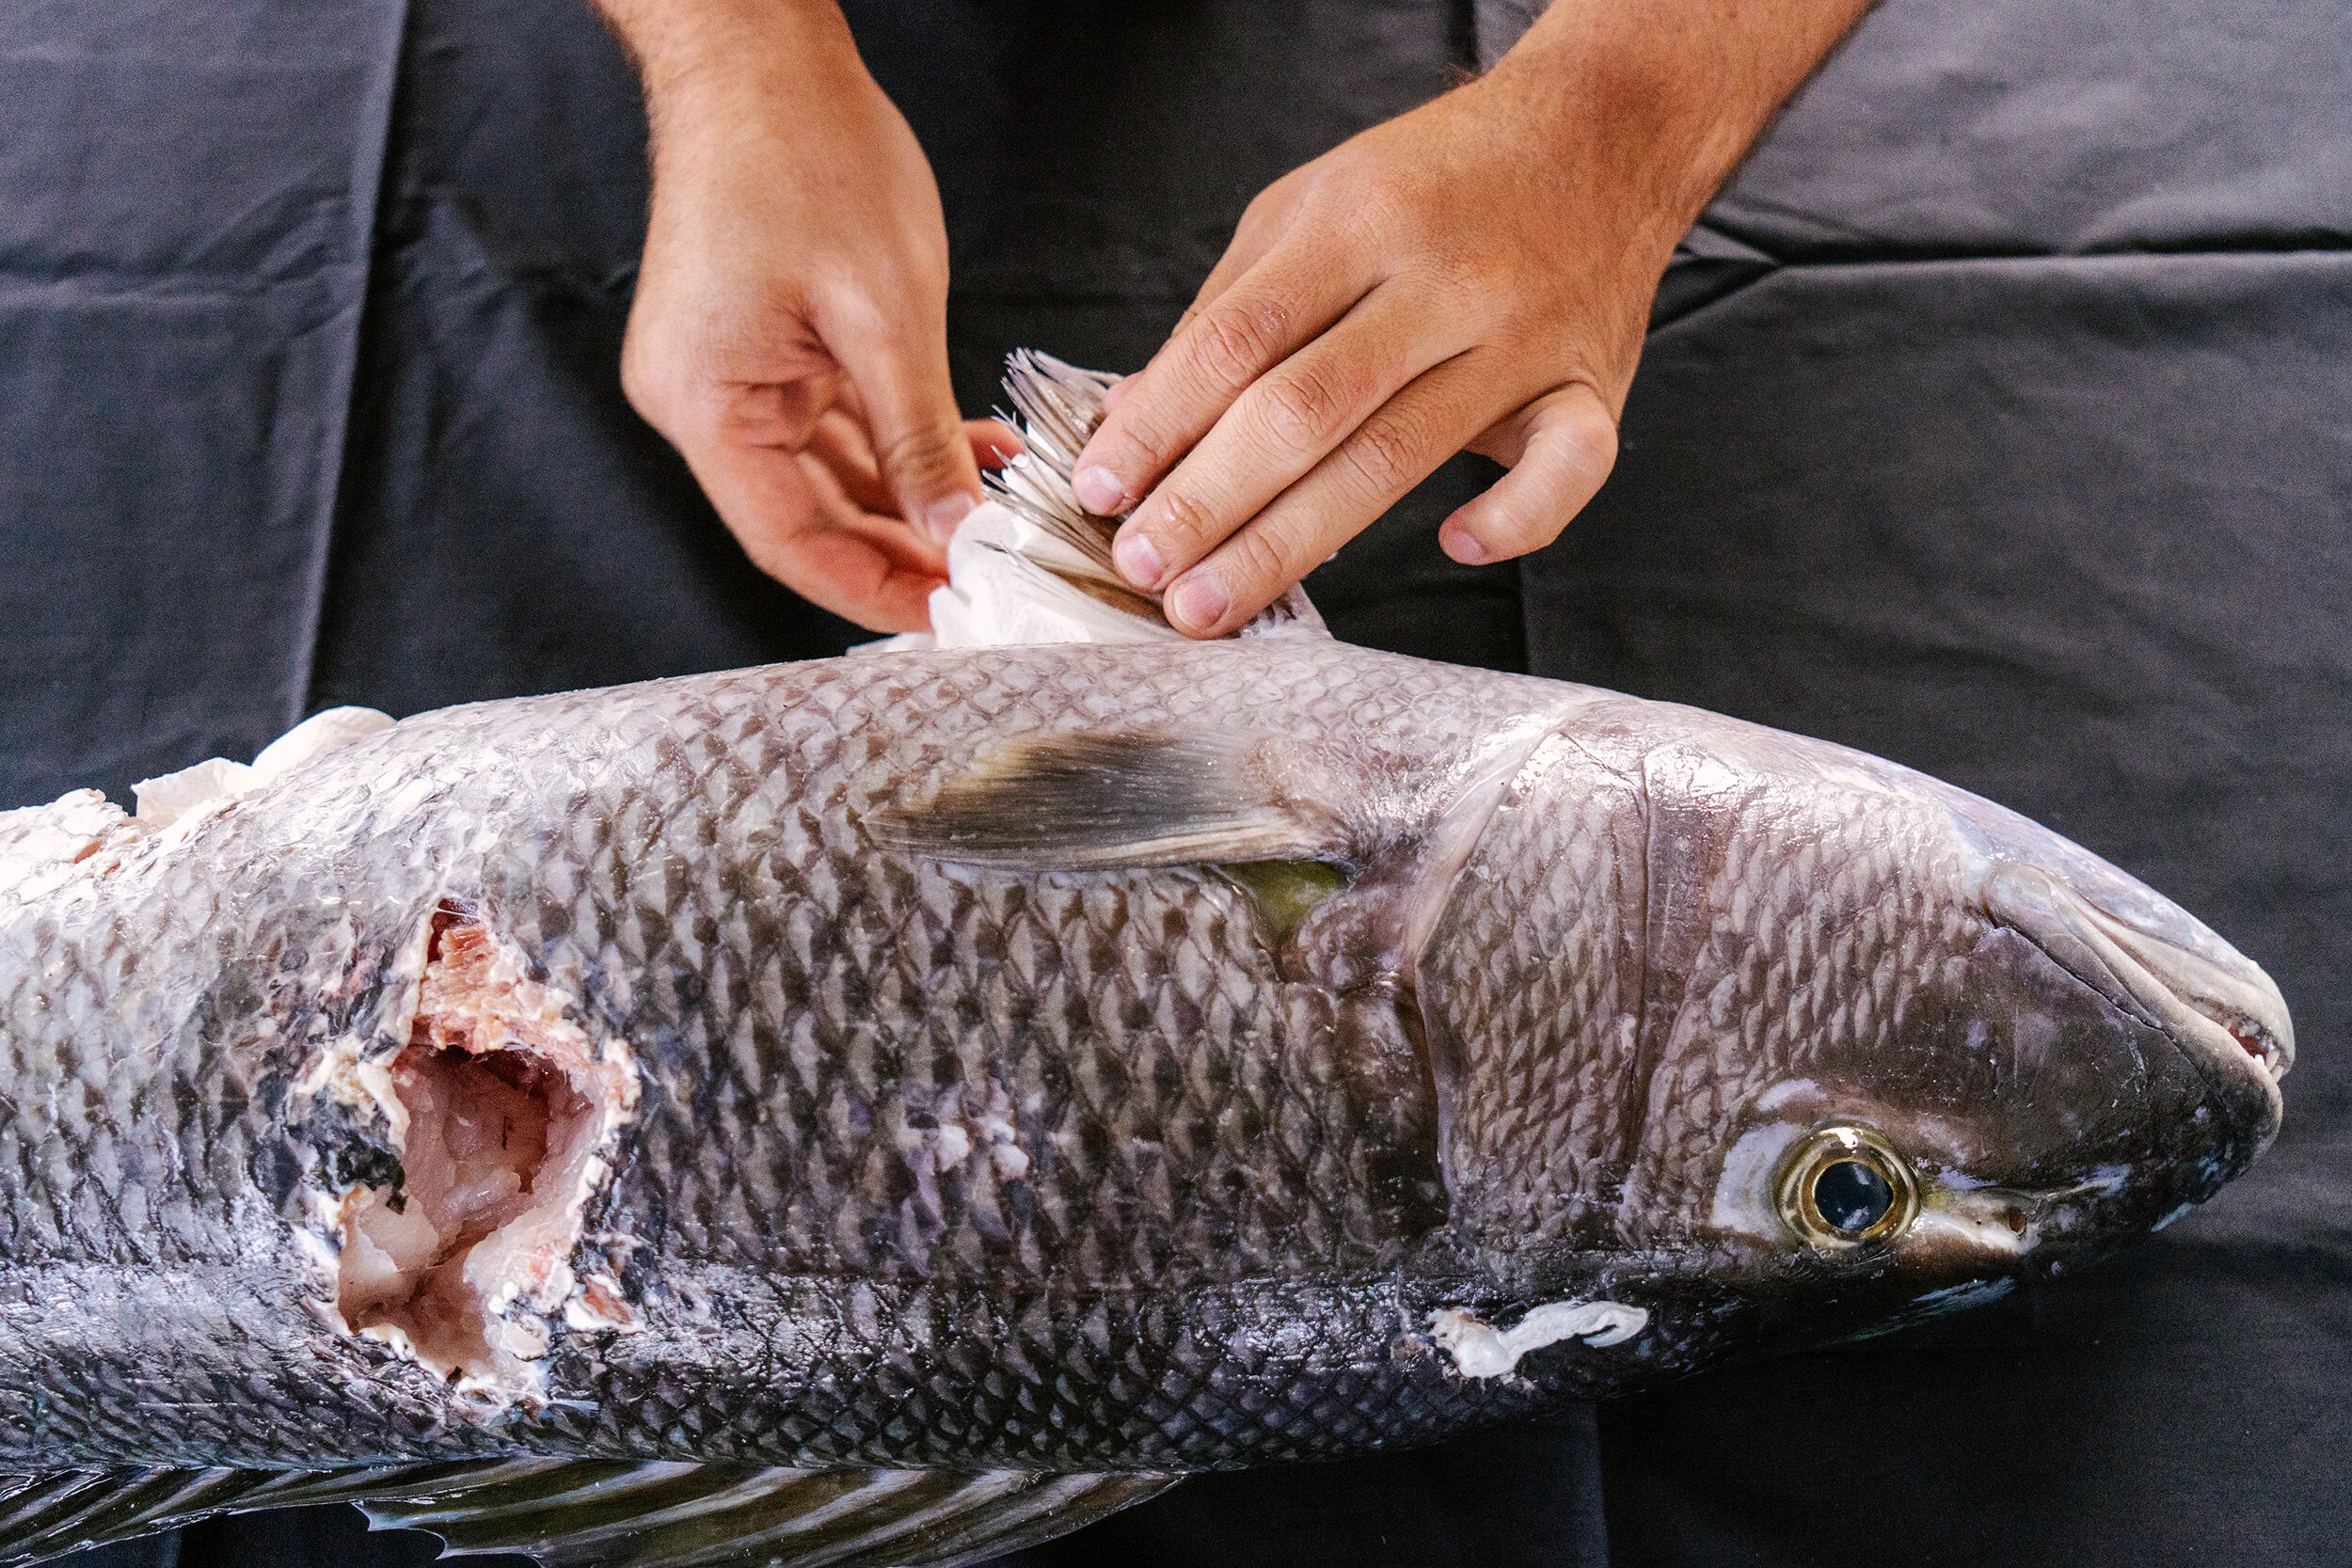


Uku is the Hawaiian name for a Grey Snapper. Despite that name, the colors on this fish were pretty stunning. Right under the mouth was an iridescent patch, with beautiful blues, greens, and purples. The photos don’t do it justice, but there was also an almost sage green spot on its tough head.


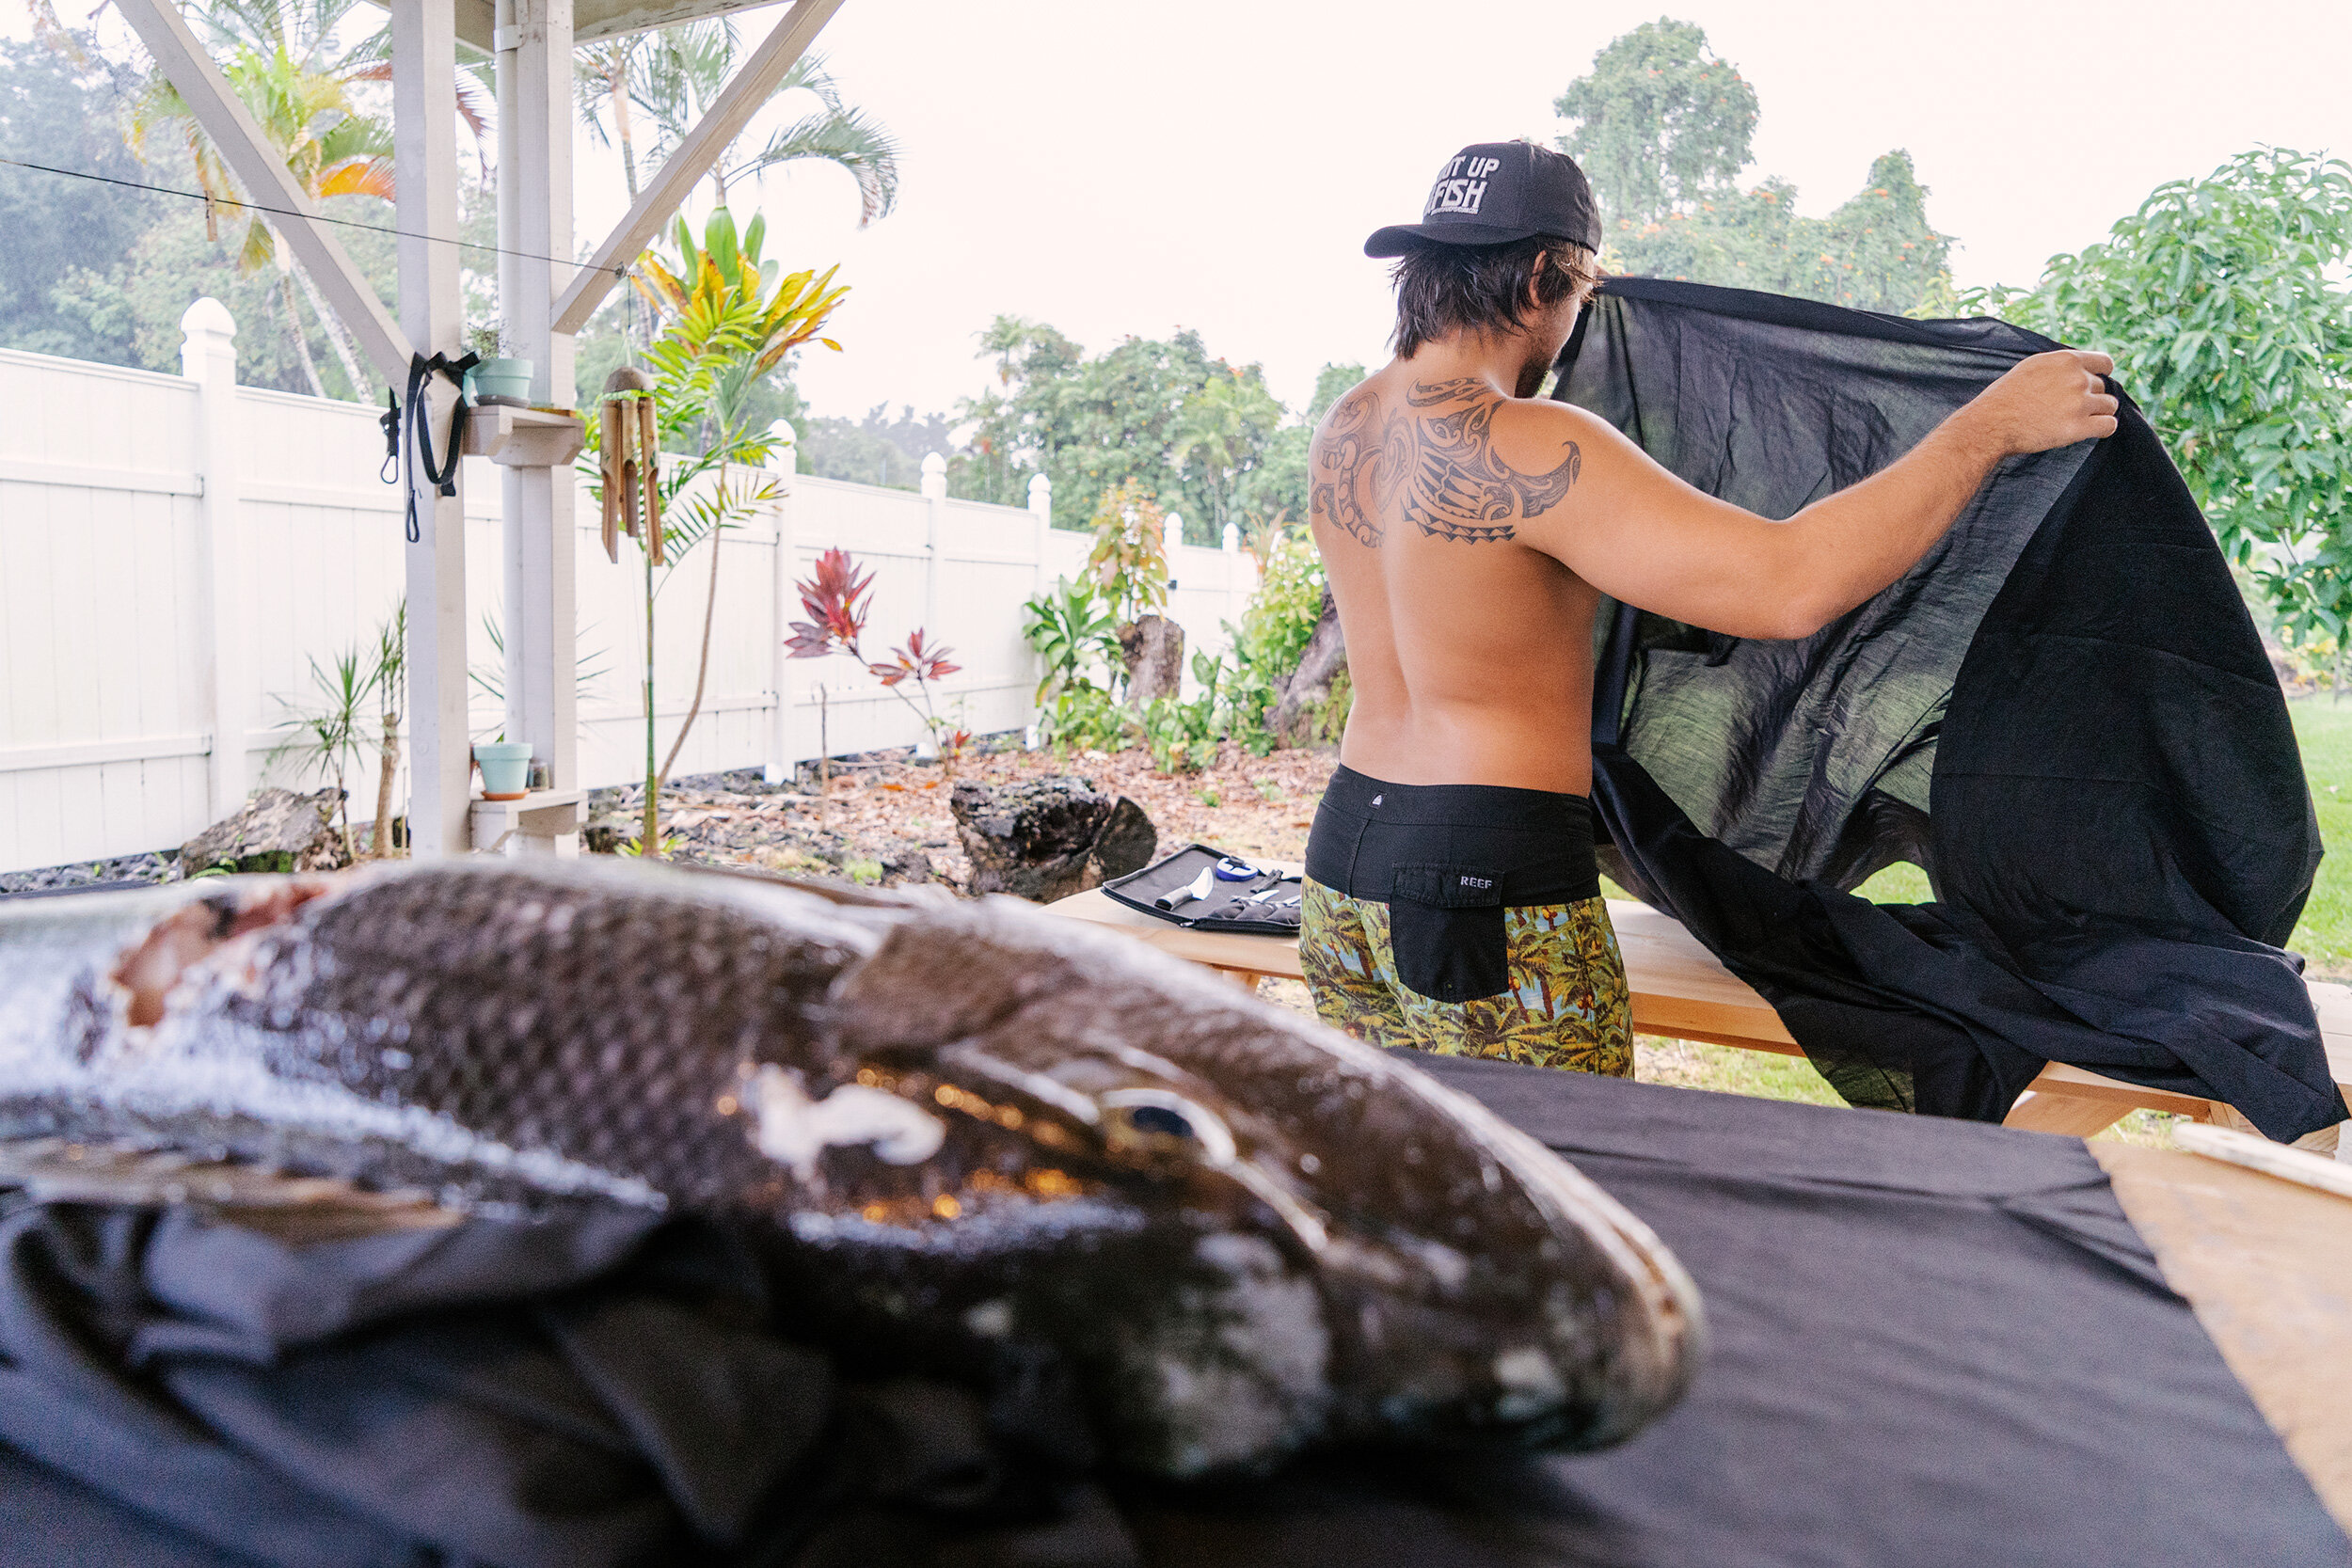
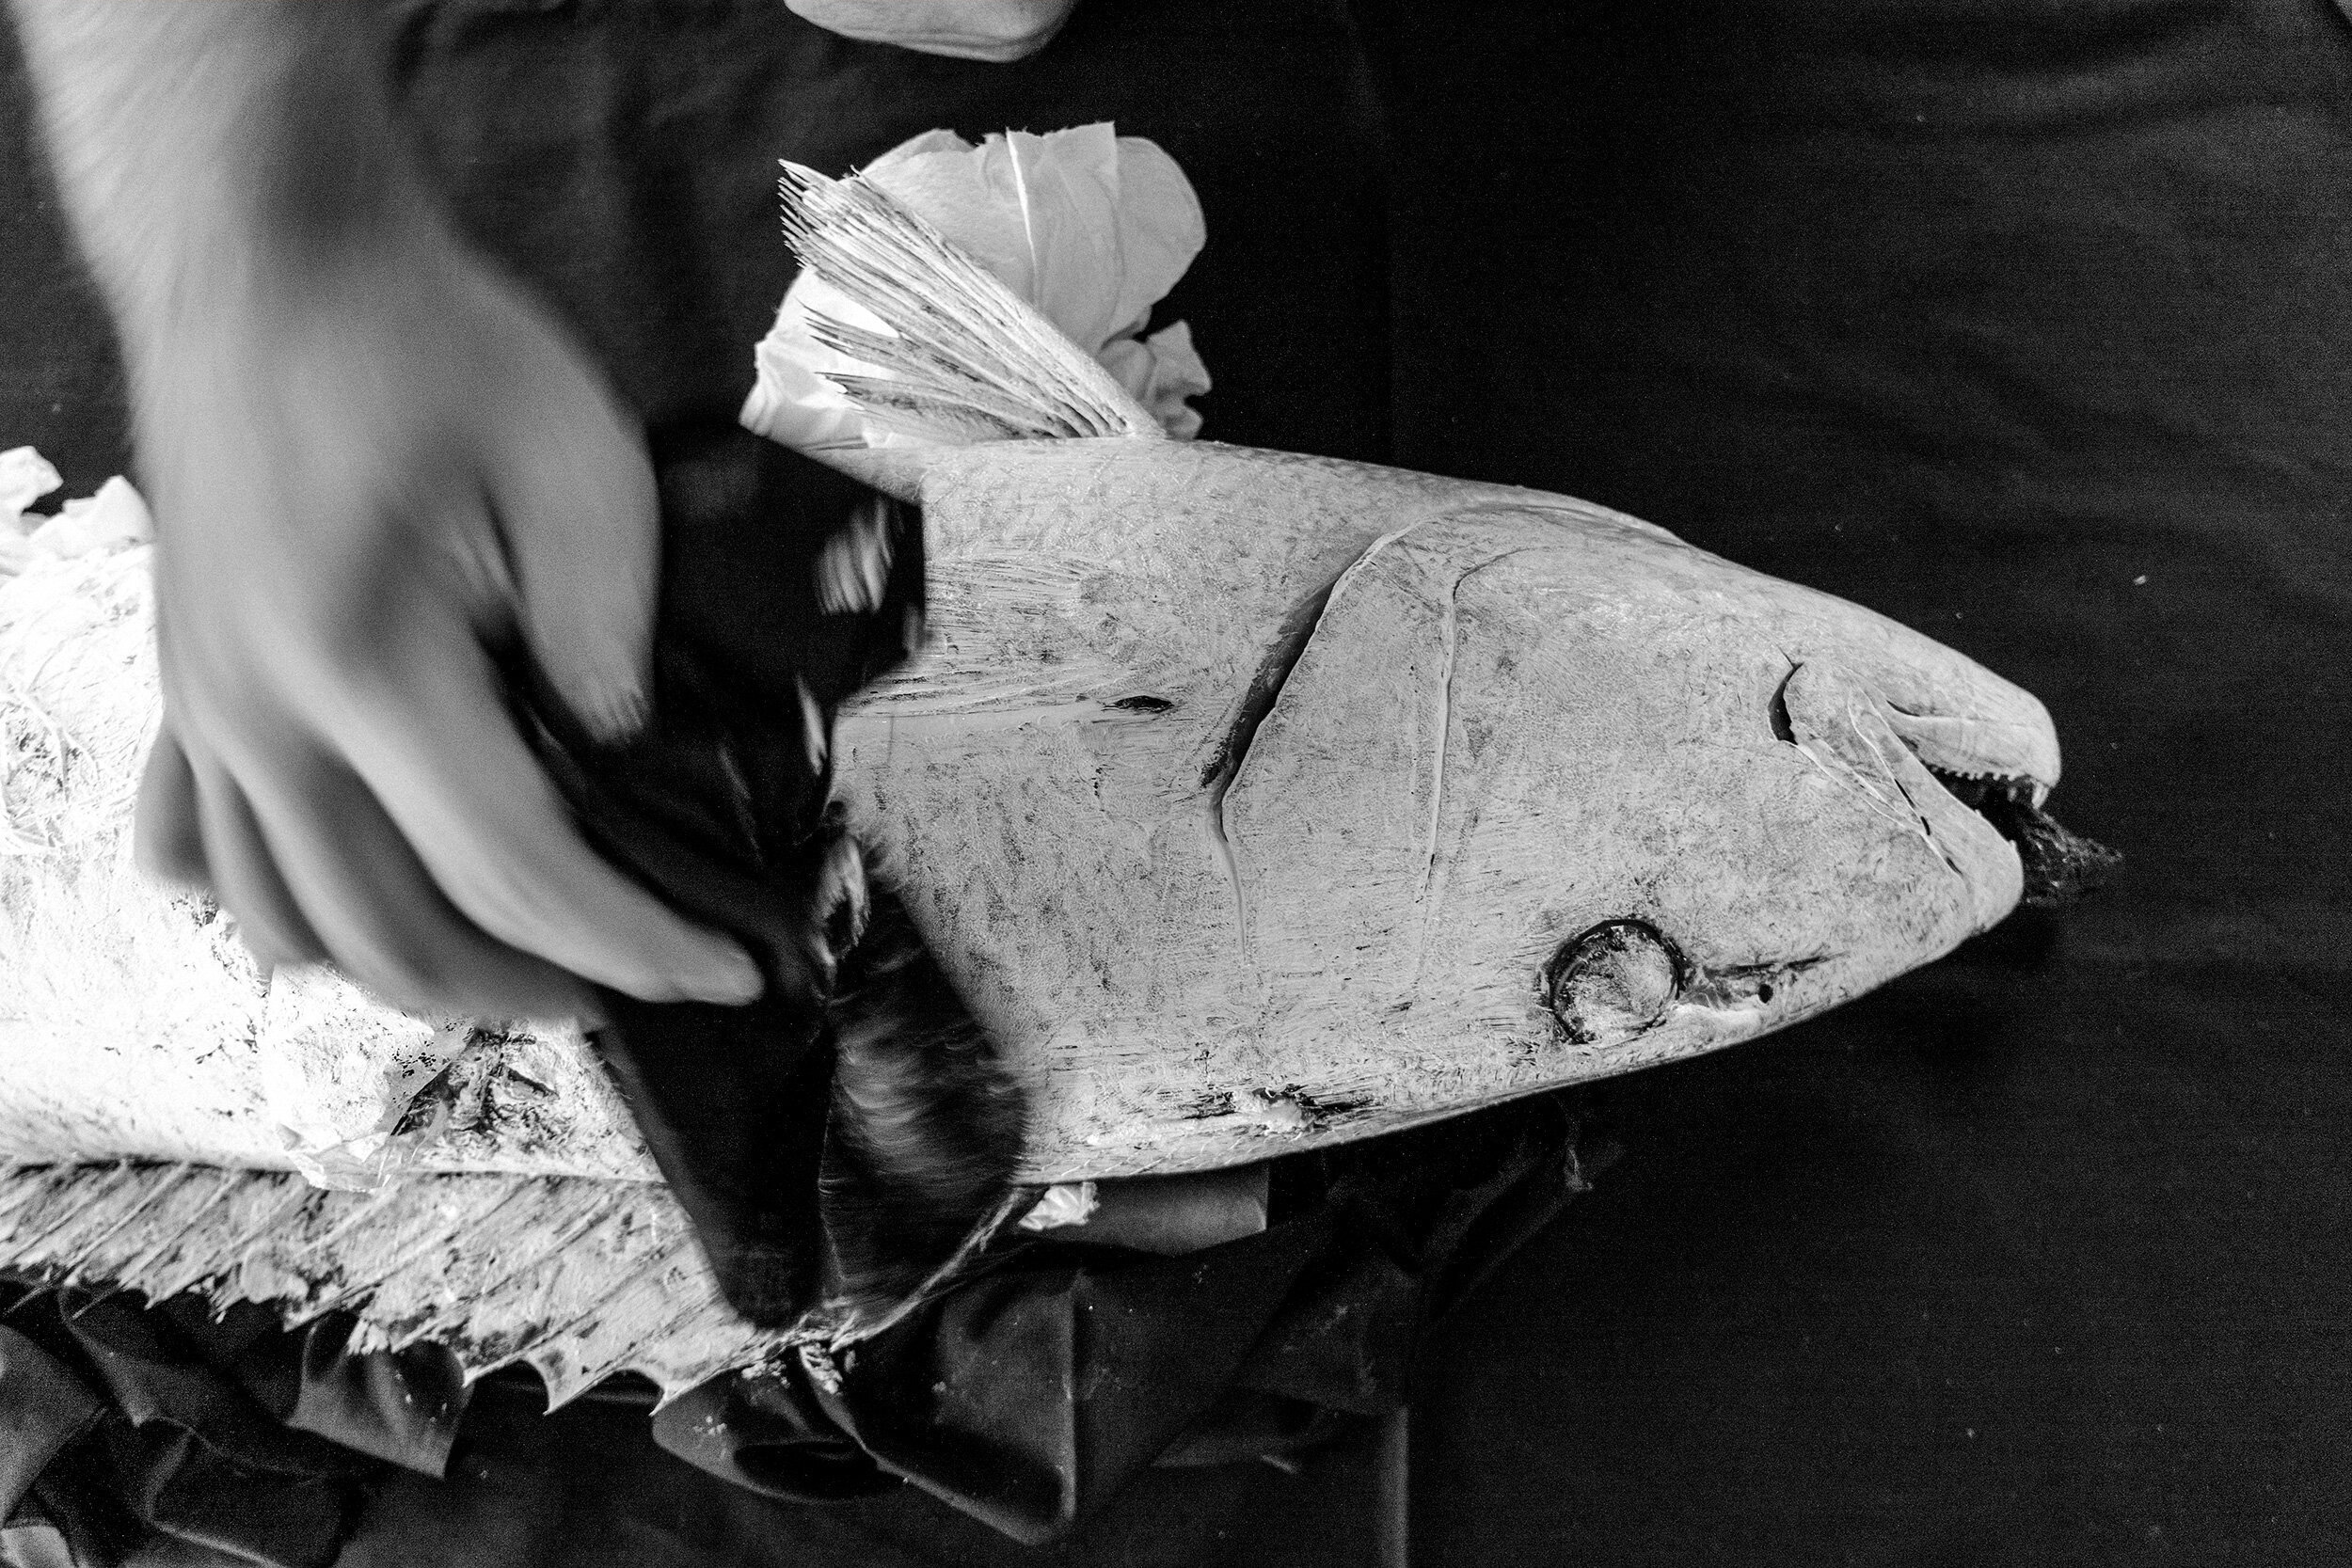
Once the fish was wiped down and the fins were mostly positioned, Nai began prepping the fabric that he would print on. He also had to address the giant holes on the side of the fish, the result of an eel that thought he could catch an easy meal as Nai swam to shore with his catch. To keep the meat of the fish clean (since we would be eating it later), and to help the printing process, he stuffed the hole full of extra fabric and covered it in plastic wrap. Although the texture would be different than the rest of the fish, it would at least be filled in so that when he went in to add color, there wouldn’t be a huge difference.

Once the fish was positioned and cleaned, paint was brushed onto the fish. In this case, Nai was using black fabric and white paint, but you frequently see Gyotaku done on rice paper with black ink as well. He used a basic paintbrush to gently cover the entire fish in paint, even covering the sloped parts of the fish in order to get a full impression.
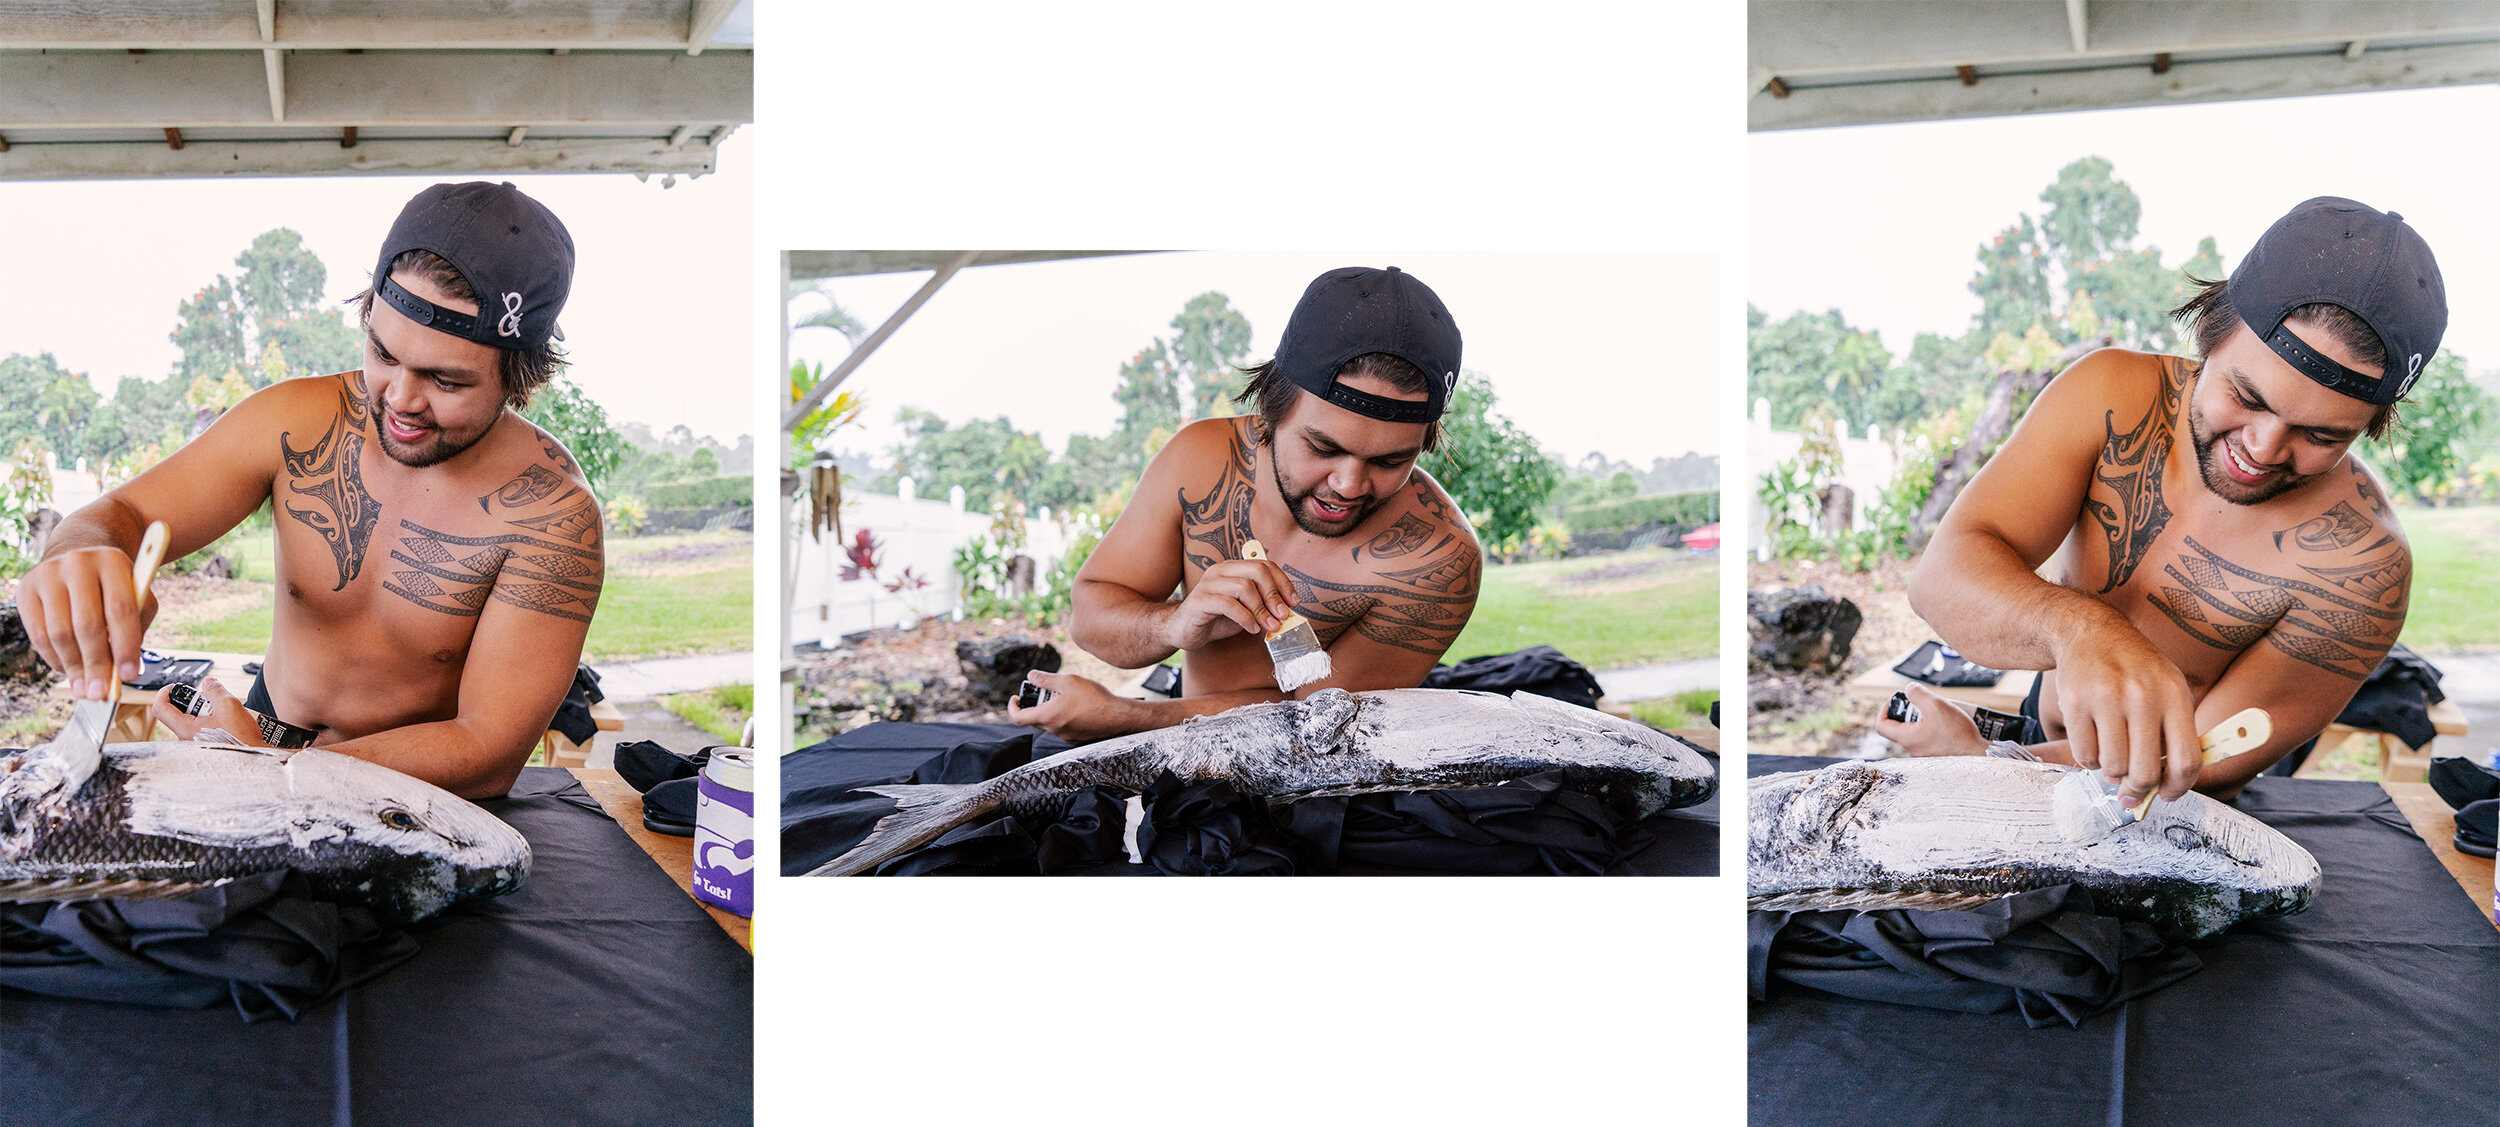

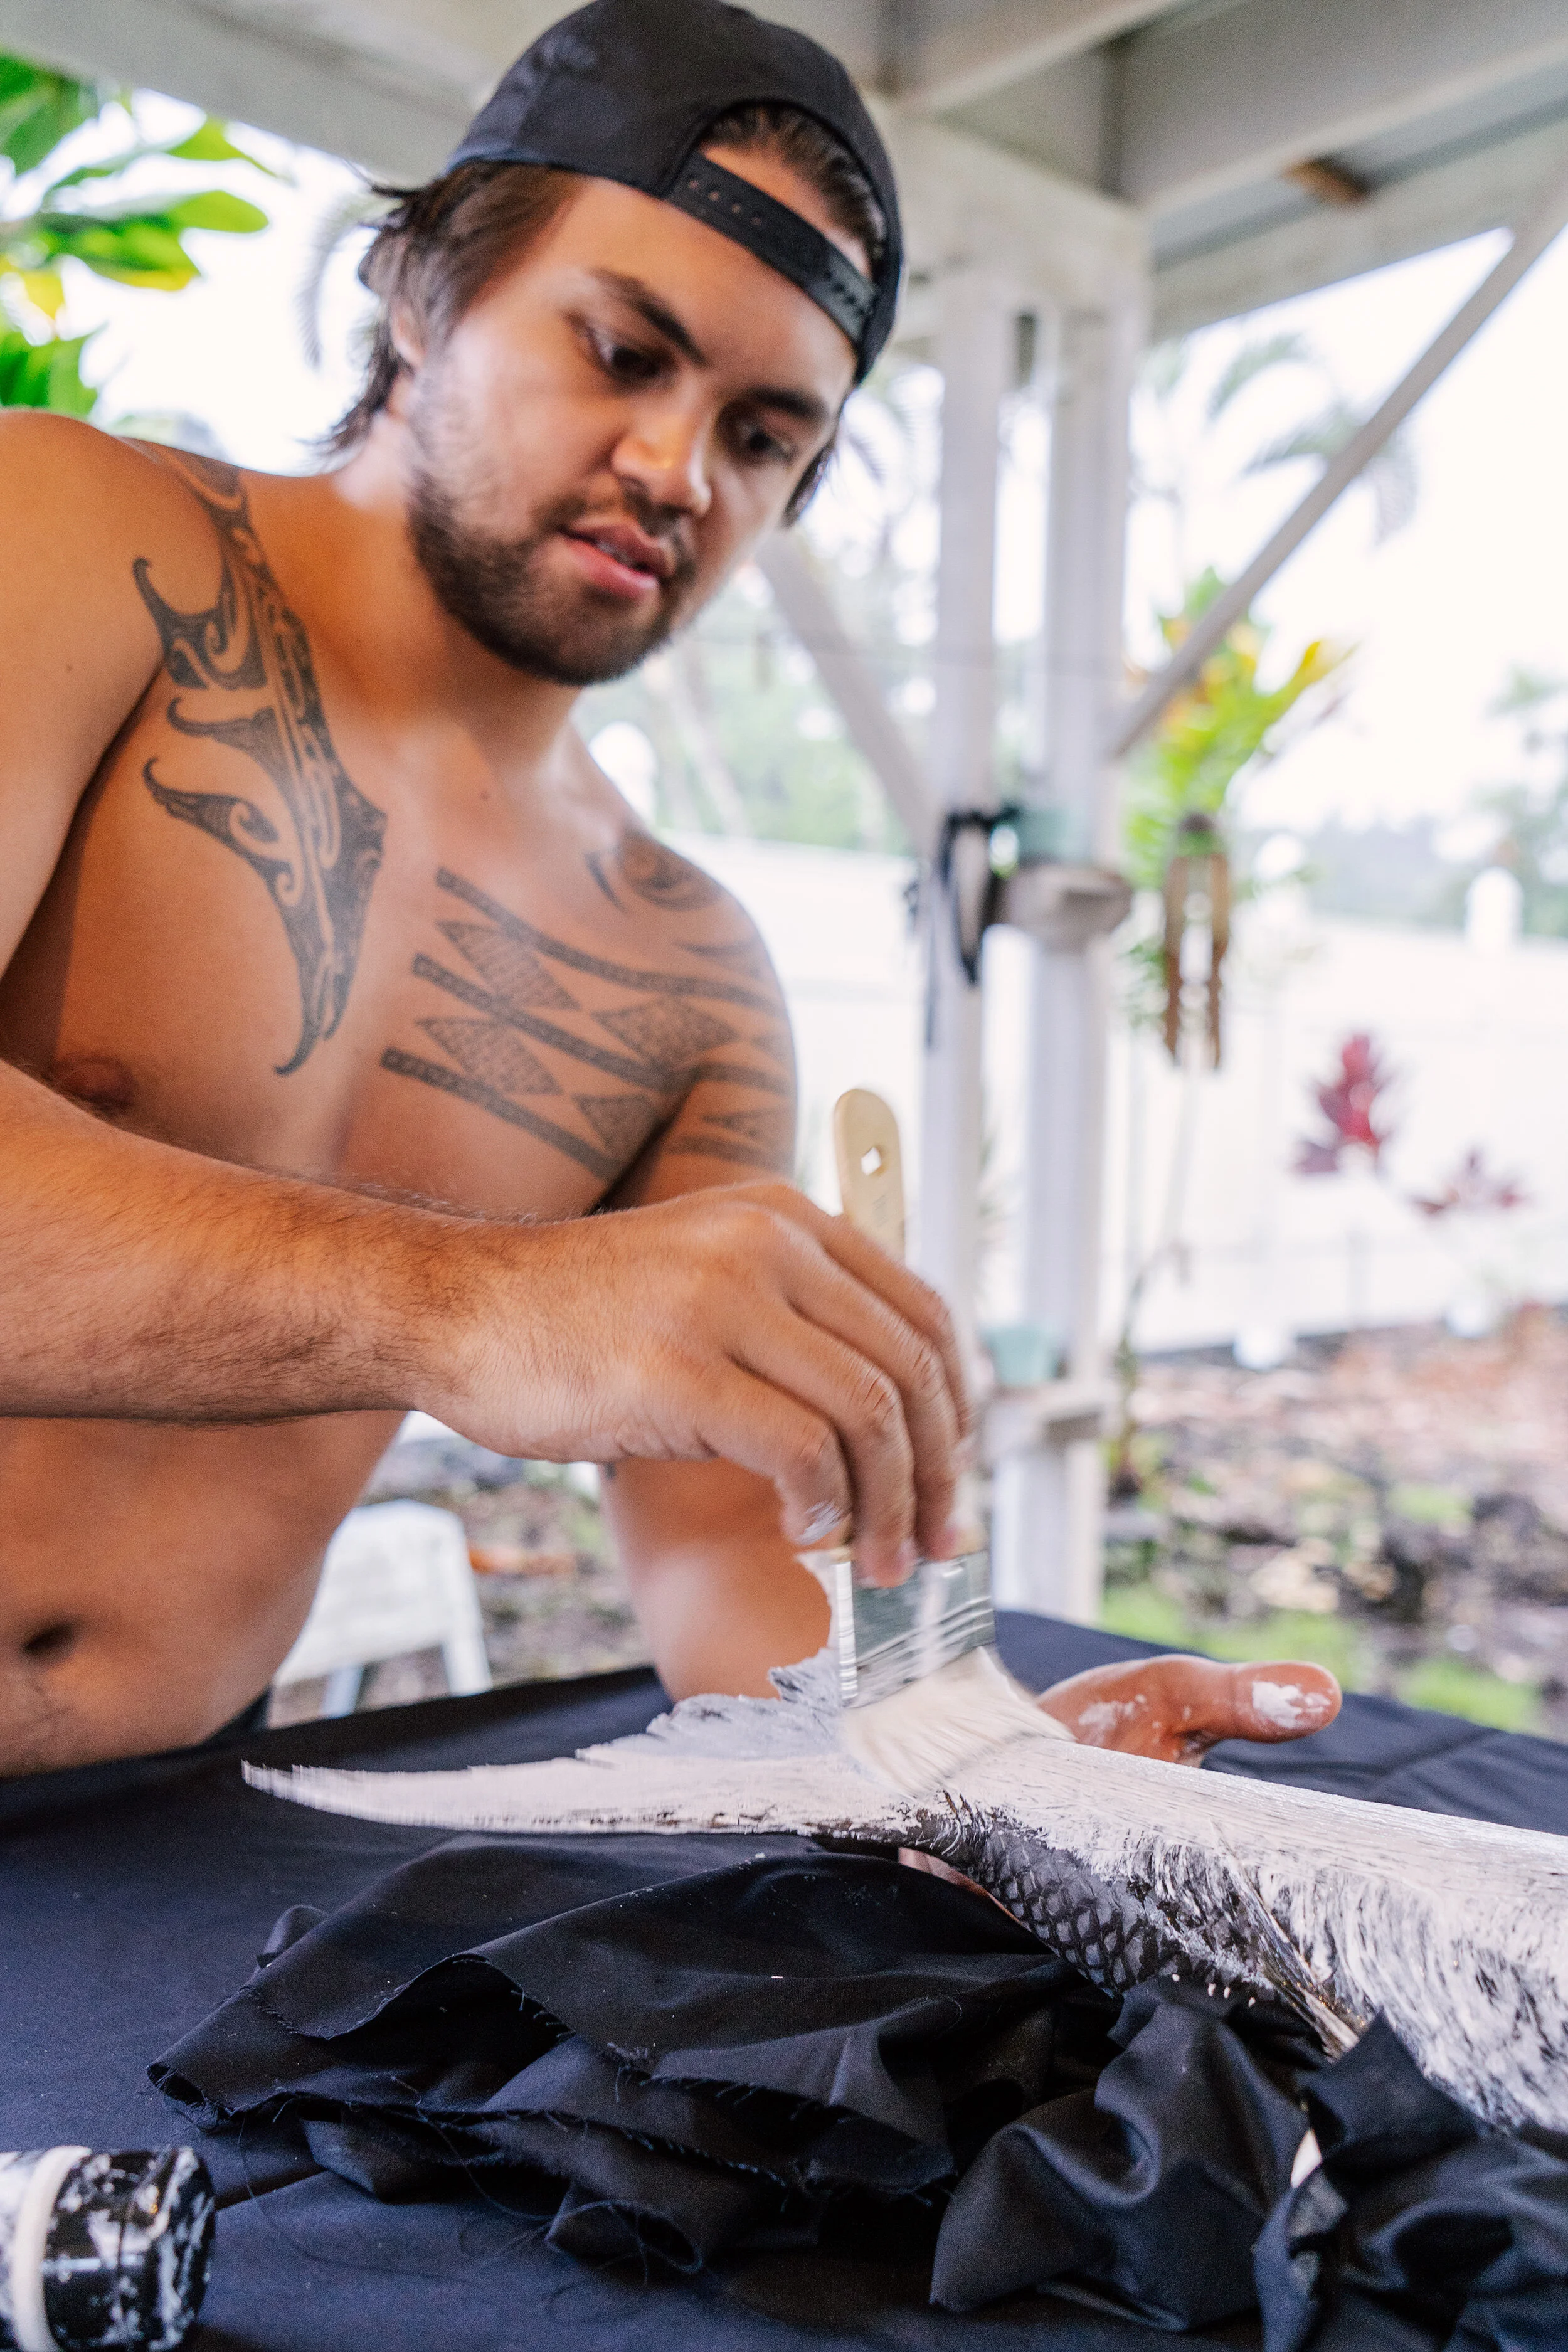

After covering the fish in paint, he goes back in with some cloth and gently dabs away some of the paint. The idea here is to get rid of the brush marks and have some of the texture of the fish come through. It’s a balancing act between taking off too much paint or leaving too much on and not getting an ideal texture and look. Nai explained that certain parts of the fish require more or less paint than others as well, so it is a tricky thing to get right. After some touch-up paint to a few areas, it was ready to print!

The printing process is also a tricky thing to get just right. Nai’s girlfriend, Rylee, was there to help line up and place the fabric over the fish, and quite frankly I’m not sure how anyone prints a decent size fish on their own! You have to get the positioning just right because once it touches the paint it has to just be dropped straight down. Then it’s a matter of gently pressing all over to transfer the paint, without moving the fabric so that you don’t end up with smeared areas, and slowly lifting the fabric off.


Nai printed two of the same fish during this session, so after he printed the first, it was back to painting, dabbing, and pressing fabric once again.


At this point, the print needed to sit around until the paint dried. Some Gyotaku artists will leave the print black and white, while many go back in with color to recreate the colors of the fish. Nai added color to this one, but did so at his house on a different day, so I don’t have photos of that.
After printing, the next stage of the evening took place, which will be covered in next week’s post! Stay tuned!